Security Options
Overview
The Security Options in EMC allow administrators to control who can access the system and from where. These settings let you restrict login access based on approved devices (browsers) and specific IP addresses, improving system security and preventing unauthorized access.
Security Options can be applied at three levels:
- Group (Everyone)
- Store
- User
Settings can be stacked based on priority. For example, you may configure an IP whitelist at the store level, and then override or refine that whitelist for individual users as required.
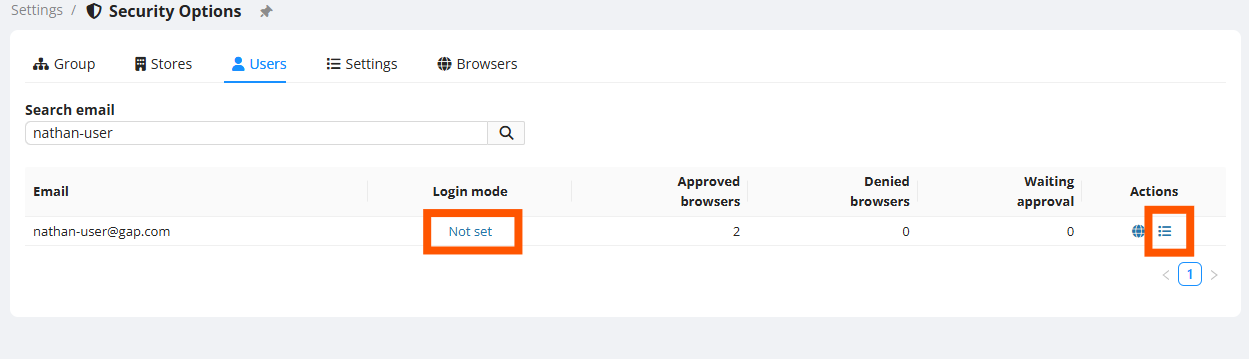
Accessing Security Options
To configure security settings for a user:
Browser Verification
Browser Verification ensures users can only log in from approved browsers/devices.
How It Works
- When a user attempts to log in from a new browser or device:
- EMC sends an email to a designated approver asking for approval.
- Once approved, that browser/device is saved and can be used for future logins.
- Users can optionally be allowed to self-verify their own browser (if they have email access). This reduces admin overhead.
Enabling Browser Verification
- In the user’s security settings, enable Browser must be verified
Additional browser settings will appear. - Save changes.
Common use cases:
- Limit logins to company-owned devices only.
- Require admin verification for any new login device.
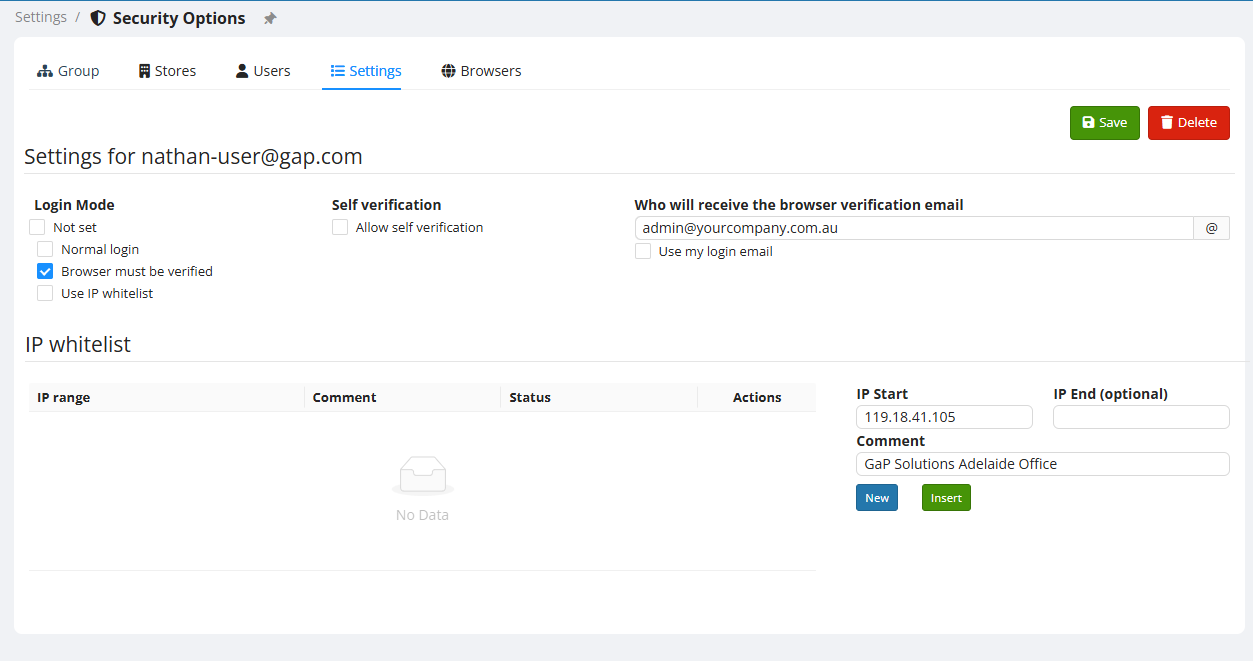
IP Whitelisting
IP Whitelisting restricts access to EMC based on specific public IP addresses.
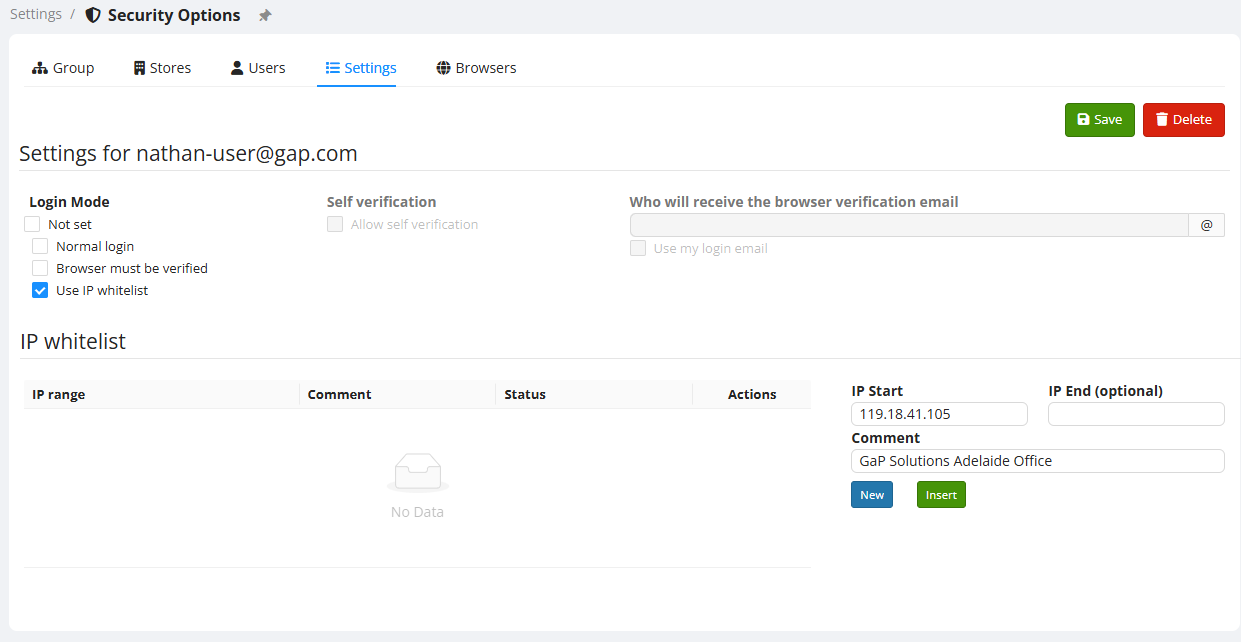
How to Set Up an IP Whitelist
- In the IP Whitelist section for a user, store, or group:
- Enter the IP Start address.
- Add a descriptive Comment.
- Click Insert to save the IP entry.
Tip: Use a service such as whatismyipaddress.com to discover the public IP address you wish to whitelist.
Notes
- IP Whitelist entries apply at the selected security level (User, Store, or Group).
- You can add multiple IPs if users connect from different locations.
- Entries can be modified or deleted at any time.
Security Option Priority and Layering
Security settings are evaluated in the following order:
- User-specific settings
- Store-level settings
- Group (Everyone) settings
A stricter user security rule (e.g., an IP whitelist for one user) will override broader store-level restrictions if configured.
Example scenarios:
- A store may allow access from a corporate office IP range.
- A specific user might be restricted further to only one IP (e.g., their home office).
- Browser verification may be enabled for all users but disabled for specific trusted users.
Summary of Key Security Controls
| Security Feature | Purpose |
| Browser Verification | Ensure only approved decives can log in |
| IP Whitelisting | Restricts access to specific IP addresses. |
| Layered Settings | Allows flexible security at group, store or user levels. |
Best Practices
✔ Use IP Whitelisting for high-security environments.
✔ Enable Browser Verification for users accessing on mobile devices with no fixed public IP Address.
✔ Review security settings periodically to ensure they match your current access needs.
No Comments